How to write frequency to the walkie-talkie? A must read for beginners!
2021-09-26
78
Friends who have used walkie-talkies know that writing frequency is an essential skill for using walkie-talkies correctly. For users who have just started walkie-talkies, they don't know much about this field, and they will mistakenly think that all newly bought walkie-talkies need to write frequency. In fact, this is a misunderstanding. Although most of the walkie-talkies have pre-written frequency settings at the factory, if two or more walkie-talkies want to talk to each other are of different brands, they may not be able to connect due to different preset frequencies.
If you use the preset frequency in the walkie-talkie, and other people around you also use the same brand of walkie-talkie and tune to this frequency, then your call may be eavesdropped, and use the frequency you set yourself, because the digital range It is very large, and the probability of encountering the same frequency will be much smaller. If you want to write the frequency yourself, what do you need to prepare? How to operate? Next, let's learn how to write the frequency to the walkie-talkie.
The walkie-talkie write frequency has different ways for different walkie-talkies. One type of walkie-talkie is a public walkie-talkie with a numeric keypad, while the other is an ordinary public walkie-talkie without a keypad. Let's introduce the frequency writing methods of these two walkie-talkies respectively.
One, the public walkie-talkie with keyboard FM
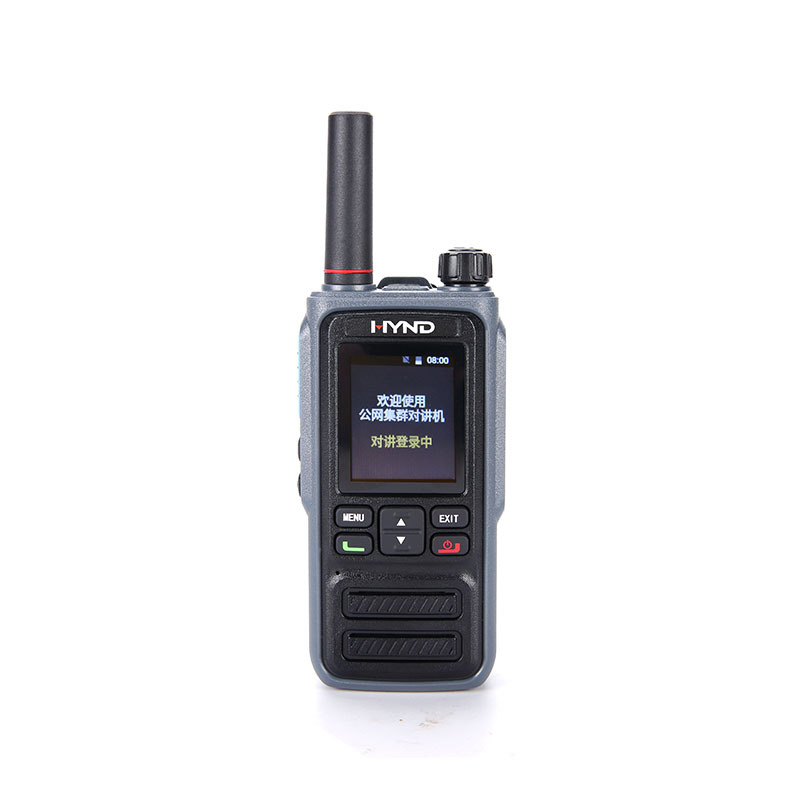
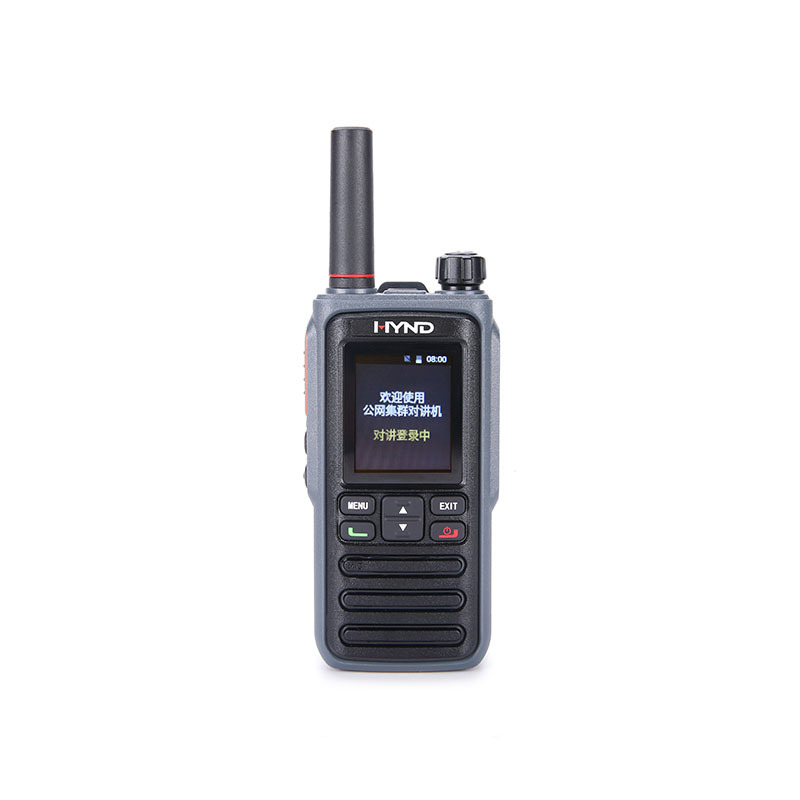
The frequency range of the public walkie-talkie is: 409MHz-410MHz. The operation mode of the public walkie-talkie of each brand is similar, and the public channel is divided into 20 channels. A public walkie-talkie with a keyboard can be successfully paired with other walkie-talkies with the same frequency as long as the frequency within the frequency range is manually input through the keyboard. Although the operating systems of different walkie-talkies are different, there is not much difference in how the number pad is used. Simple operation can be paired successfully.
Second, the public walkie-talkie without keyboard FM
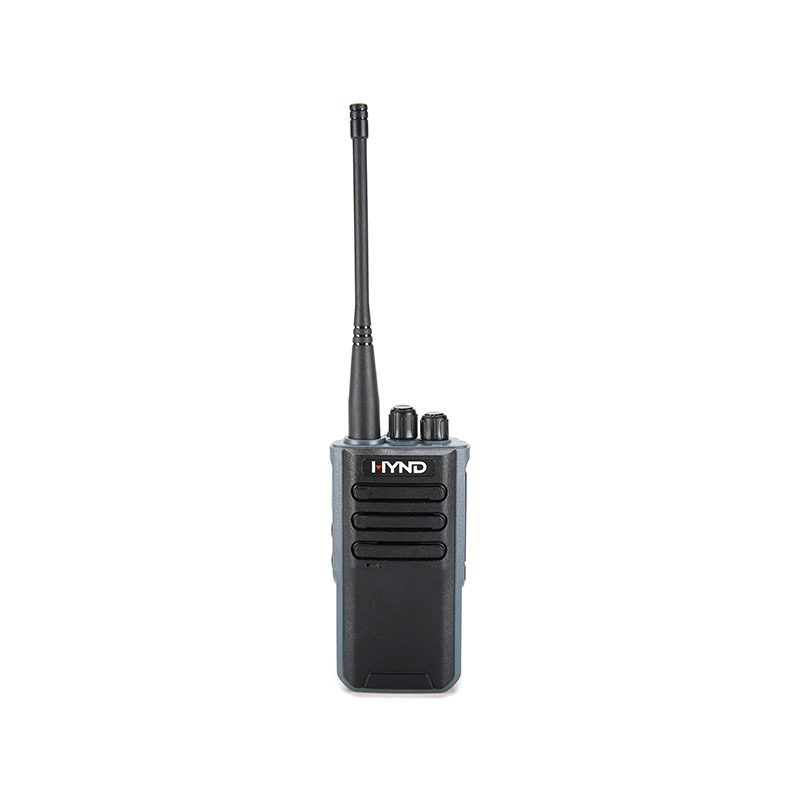
Compared with the walkie-talkie with the keyboard, it is more troublesome to write the frequency without the walkie-talkie. The frequency modulation of the walkie-talkie without a keyboard is adjusted through the adjustment frequency knob on the top. Generally, the frequency of the walkie-talkie is written in the factory, and the preset frequency is adjusted by the knob to make a pairing call. However, if the frequencies corresponding to each rotary scale of different brands of walkie-talkies are different, it cannot be paired successfully. In this case, we need to modify the built-in frequency and manually write the same frequency.
First we have to prepare a walkie-talkie programming line
One end of the walkie-talkie writing frequency line is a USB socket and the other end is a K-head interface (most of the headphone jacks of the walkie-talkie are K-head interfaces). The walkie-talkie write frequency line is used for the link between the walkie-talkie and the computer.
Then what we need to do is to install the driver of the writing frequency cable on the computer. Generally, the writing frequency cable is purchased with a driver disk. If not, you can download the appropriate driver from the official website. After installing the driver and software, turn on the power of the walkie-talkie, enter the device manager of the computer to check the correct COM port of the walkie-talkie, and then select the correct port.
Walkie-talkie write frequency driver and software installation
The following are the detailed installation steps of the driver and FM software. If you know about it, you can skip the first two steps and focus directly on the key points.
Step 1: Install the driver
Download the corresponding driver of the walkie-talkie you want to write from the official website of the walkie-talkie, and then double-click to start the installation program, all the way to the next step until the installation is complete.
Step 2: Download and install the writing frequency software
Go to the official website of the walkie-talkie that needs to write frequency to find the model of the walkie-talkie, and download the latest version of the write-frequency software of this model of walkie-talkie. After the download is complete, the installation is successful.
Step 3: Find the port of the walkie-talkie
Find the device manager in the computer (the way to open the device manager: click the right mouse button in "My Computer", then click "Properties", then click "Device Manager" in the left toolbar ;). View the radio ports in Ports (COM and LPT).
Step 4: Select the correct radio port
Check the correct port of the walkie-talkie in the previous step, select the corresponding port in the writing frequency software, and click OK to complete the preliminary installation work.
Step 5: Read the walkie-talkie frequency
First of all, we need to read the factory-set frequency in the walkie-talkie. As shown in the figure below, we can see the preset frequencies in the walkie-talkie.
Step 6: Modify the preset frequency
To modify the preset channel frequency, click Signal-1 to input the modified frequency. Be sure to remember how often you modify it, otherwise you can only rewrite it. All 16 channels are re-edited.
Step 7: Write the new frequency
After modifying the channel frequency, the last step to complete the frequency writing is to click the "Write Frequency" button to write the modified frequency into the walkie-talkie. Once the write is complete, you're done.
For the first time, the writing frequency of the walkie-talkie needs to install the driver and writing frequency software. It looks complicated but it is very simple to use. It will be easier to use next time. That is to modify the original frequency of the radio first, and then write the modified frequency. Therefore, the writing frequency of the walkie-talkie is a very convenient and simple operation.
"
Recommended products
——


